Making gluten free sourdough bread at home is easier than you think and so satisfying. Whether you're avoiding gluten or just love good bread, this guide will help you bake a perfect loaf. Let's get started on your sourdough journey!
Jump to:
- Why Choose Gluten Free Sourdough Bread?
- Key Advantages of Gluten Free Sourdough Bread
- Essential Ingredients for Gluten Free Sourdough Bread
- Essential Tools for Baking Gluten-Free Sourdough Bread
- Step-by-Step Guide to Baking Gluten Free Sourdough Bread
- Pro Tips for Perfect Gluten Free Sourdough Bread
- Common Challenges and How to Overcome Them
- Exploring Gluten Free Sourdough Bread Variations
- How to Store Gluten Free Sourdough Bread
- Frequently Asked Questions
- Conclusion: Enjoy the Rewards of Homemade Gluten Free Sourdough Bread
- Related
Why Choose Gluten Free Sourdough Bread?
Sourdough bread is renowned for its rich flavor and chewy texture, achieved through a natural fermentation process. Traditional sourdough uses wheat flour, which contains gluten—a protein that can cause digestive issues for some people, including those with Celiac Disease or gluten sensitivity. Gluten free bread eliminates this problem, allowing everyone to enjoy the signature tangy taste and hearty texture without the gluten.
Key Advantages of Gluten Free Sourdough Bread
- Improved Digestibility: The fermentation process breaks down complex carbohydrates and proteins, making the bread easier to digest. This is particularly beneficial for those with sensitive digestive systems.
- Better Nutrient Absorption: Fermentation increases the availability of nutrients, such as B vitamins, which are often lower in gluten-free diets.
- Reduced Glycemic Impact: Compared to regular gluten-free bread, gluten free sourdough generally has a lower glycemic index, leading to more stable blood sugar levels after consumption.
Essential Ingredients for Gluten Free Sourdough Bread
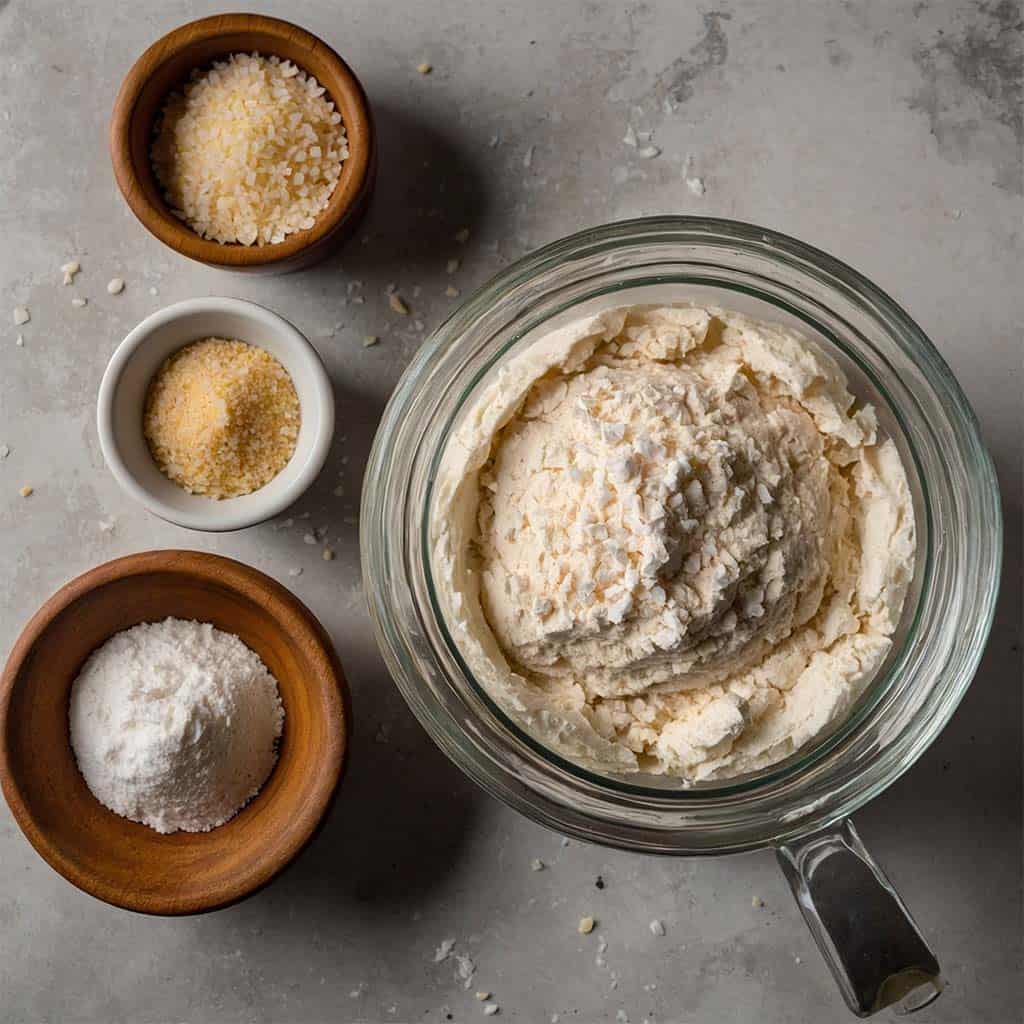
Creating a perfect loaf of gluten-free sourdough starts with selecting the right ingredients. Here are the essentials you’ll need:
1. Gluten Free Flour:
- Importance: The type of flour blend you use will significantly affect the texture, flavor, and overall success of your bread. A high-quality 1:1 gluten-free flour blend, ideally one that includes xanthan gum, helps mimic the binding properties of gluten, giving the bread structure and shape.
- Popular Choices: Bob’s Red Mill 1:1 Gluten-Free Baking Flour is a favorite among many bakers for its reliability and versatility, but feel free to experiment with other blends to find the one that works best for you.
2. Water:
- Role: Water is crucial in activating the yeast in your sourdough starter, allowing the dough to rise. It’s best to use filtered or bottled water to avoid chlorine and other chemicals found in tap water that can inhibit yeast growth.
- Temperature: Opt for cold or room-temperature water, as hot water can kill the yeast or slow down the fermentation process.
3. Salt
- Purpose: Salt enhances the flavor of the bread and also helps regulate the fermentation process, preventing the dough from rising too quickly.
- Best Type: Fine sea salt is recommended for its purity and subtle flavor.
4. Gluten-Free Sourdough Starter:
- Definition: A gluten-free sourdough starter is a fermented mixture of gluten-free flour and water that harbors wild yeast and beneficial bacteria. It’s what gives sourdough bread its distinct tangy flavor and airy texture.
- How to Make It: If you don’t have a starter, you can create one by mixing equal parts gluten-free flour and water, then allowing it to ferment at room temperature for several days, feeding it daily with fresh flour and water.
Essential Tools for Baking Gluten-Free Sourdough Bread
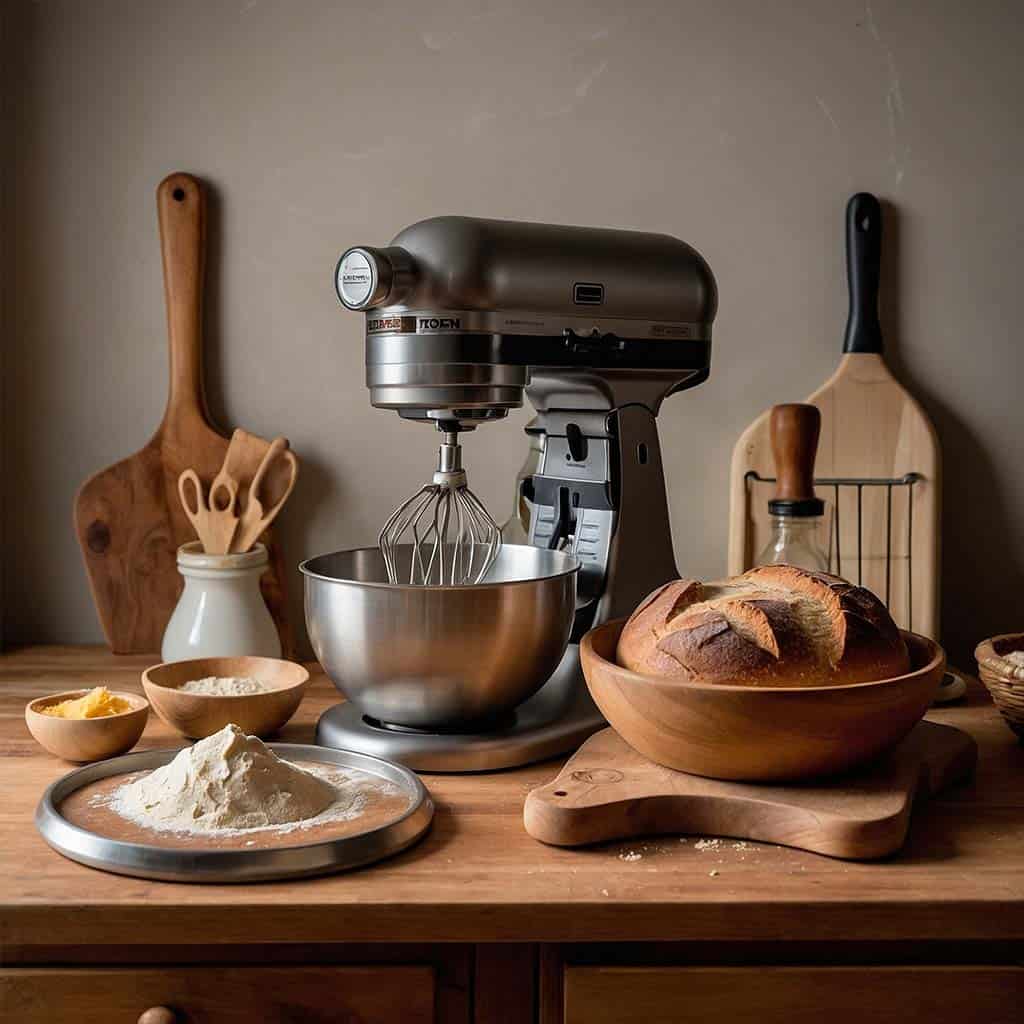
Equipping yourself with the right tools is just as important as having the right ingredients. Here are the key items you'll need:
Digital Kitchen Scale:
Importance: Precision in measurement is vital in gluten-free baking to ensure consistent results. A digital kitchen scale allows you to measure ingredients by weight, which is more accurate than measuring by volume.
Stand Mixer with Dough Hook:
Why You Need It: A stand mixer with a dough hook attachment can make the kneading process much easier and more efficient. If you don’t have one, you can mix by hand using a sturdy spoon or a Danish dough whisk.
Dutch Oven:
Purpose: A Dutch oven helps create the steam necessary for a good crust. If you don’t own one, use a heavy-duty cast-iron skillet with a tight-fitting lid or cover it with foil to trap the steam.
Glass Bowl or Banneton Basket:
Why It Matters: For the dough to rise, it needs a supportive container. A glass bowl is non-reactive and lets you observe the rising process, while a Banneton basket, typically made of rattan, provides structure and helps develop a beautiful pattern on the loaf.
Sharp Knife or Bread Lame:
Role: Scoring the top of the dough before baking allows it to expand in a controlled manner, enhancing the bread’s appearance and texture.
Step-by-Step Guide to Baking Gluten Free Sourdough Bread
Now that you have your ingredients and tools ready, let’s dive into the baking process. Here’s a detailed step-by-step guide to help you craft your gluten free sourdough bread:
Day 1: Preparing the Dough
Mixing Ingredients:
- Combine your un-fed gluten free sourdough starter, gluten-free flour blend, water, and salt in the bowl of your stand mixer. Mix until the dough is slightly sticky yet holds its shape.
Bulk Fermentation:
- Allow the dough to ferment in a warm spot in your kitchen for about 6-10 hours, depending on the ambient temperature. The dough should become more airy and pliable, though it may not double in size as wheat-based dough would.

Second Proof/Retard:
- After the initial fermentation, transfer the dough to a lightly floured Banneton basket or keep it in the mixing bowl, dusting the top with gluten-free flour. Cover it loosely and refrigerate for 12 hours or overnight. This extended cold fermentation helps develop deeper flavors.
Day 2: Baking the Bread
- Preheat the Oven:
- Place your Dutch oven in the oven and preheat it to 500°F (260°C). Let it heat up for at least 30 minutes to ensure it’s thoroughly hot.
- Prepare the Dough:
- Turn the dough out onto a piece of lightly floured parchment paper. Gently reshape it into a ball and use a sharp knife or bread lame to score the top with your desired pattern.
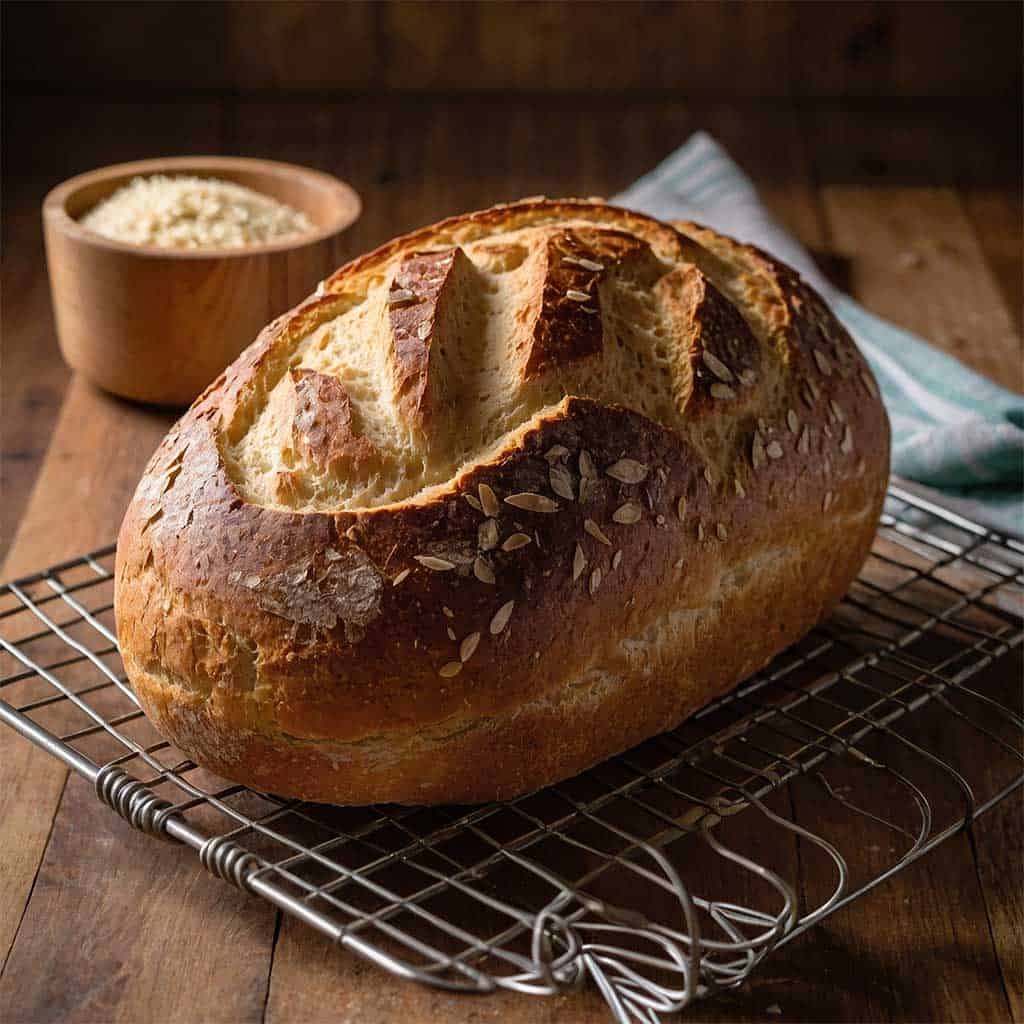
- Bake the Bread:
- Carefully transfer the dough into the preheated Dutch oven using the parchment paper as a sling. To create steam, you can add a few ice cubes between the parchment paper and the sides of the Dutch oven. Cover with the lid, reduce the oven temperature to 450°F (232°C), and bake for 40 minutes. Remove the lid and continue baking at 425°F (218°C) for another 40 minutes or until the crust turns golden brown.
- Check for Doneness:
- The bread is ready when it reaches an internal temperature of at least 210°F (99°C). Let the loaf cool completely on a wire rack before slicing to avoid a gummy texture.
Pro Tips for Perfect Gluten Free Sourdough Bread
- Stick to the Recipe: Follow the recipe closely before making any alterations to flour blends or hydration levels.
- Use a Mature Starter: A starter that’s at least two weeks old will provide better flavor and a stronger rise.
- Weigh Your Ingredients: Precision is key, especially in gluten-free baking, where small deviations can impact the result.
- Be Patient: Allow your bread to cool fully before slicing. Cutting into it too soon can result in a gummy interior.
- Monitor Moisture Loss: For best results, aim for the bread to lose about 15% of its weight during baking, indicating the right moisture content has been achieved.
Common Challenges and How to Overcome Them
- Gummy Texture: Ensure your bread is fully baked by checking the internal temperature and allowing it to cool completely before cutting.
- Dense Loaf: Use an active, bubbly starter and make sure your dough is adequately hydrated.
- Limited Rise: If your bread isn’t rising well, check that your starter is active and that the dough is fermenting in a warm environment.
- Thick Crust: Cover the bread for the first half of baking to maintain moisture, then uncover to finish and develop the crust.
Exploring Gluten Free Sourdough Bread Variations
Once you’ve mastered the basic recipe, there are numerous variations to try:
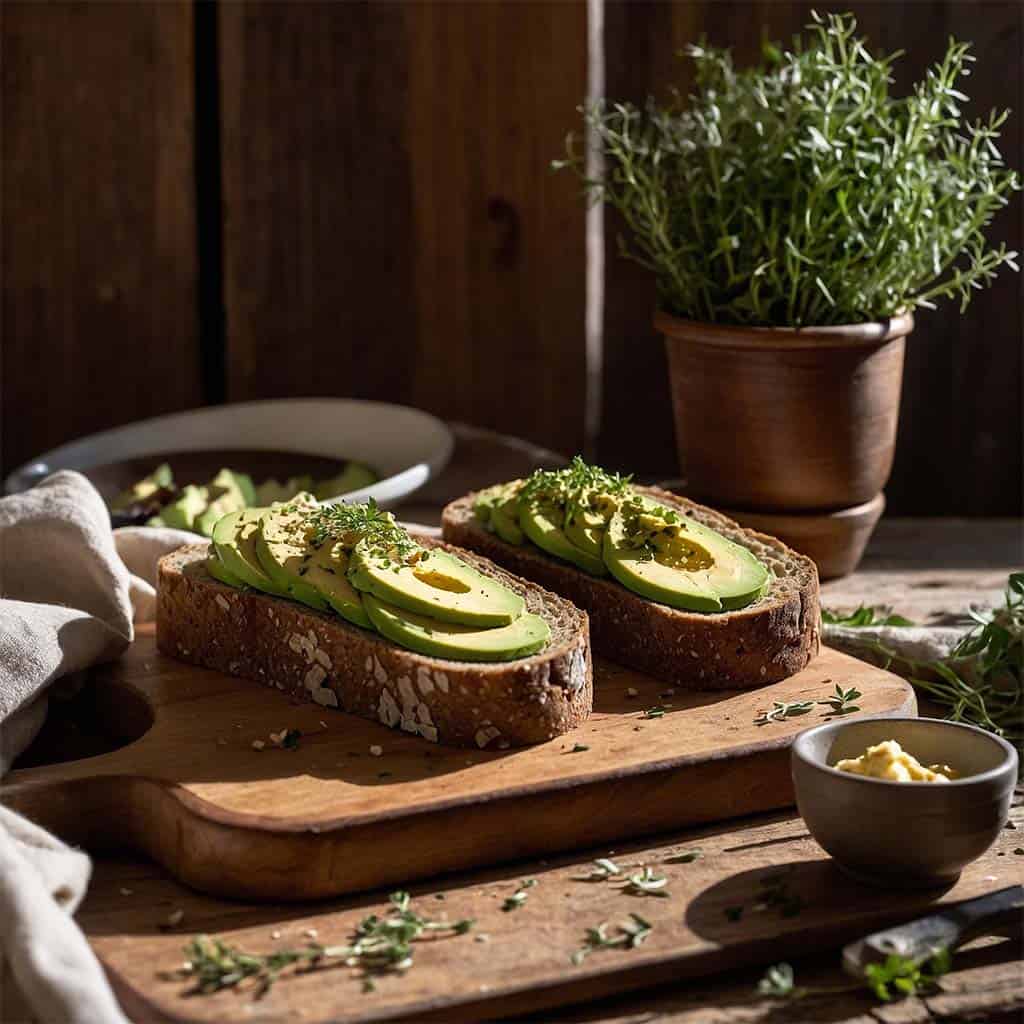
- Sandwich Bread: Slightly increase the hydration and bake the dough in a loaf pan for a perfect sandwich bread.
- Sourdough Rolls: Divide the dough into smaller portions for rolls, adjusting the baking time accordingly.
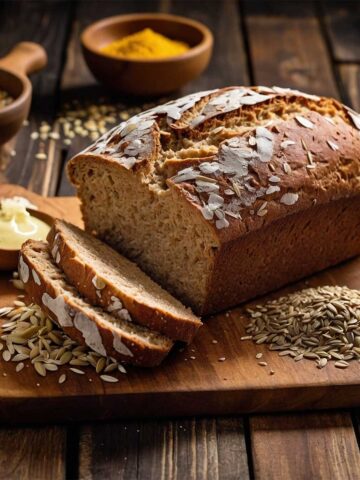
- Seeded Bread: Add seeds such as chia, flax, or sunflower to the dough for added texture and flavor.
- Focaccia: Spread the dough into a baking sheet, drizzle with olive oil, and top with herbs and sea salt for a delicious focaccia.
- Bagels: Shape the dough into bagels and boil them briefly before baking for a chewy, gluten-free alternative to traditional bagels.
How to Store Gluten Free Sourdough Bread
- Room Temperature: Store your bread in a paper bag or bread box for up to three days to maintain its texture.
- Freezing: Slice the bread and lay the slices flat on a baking sheet to freeze. Once frozen, transfer them to a resealable bag. The bread can be frozen for up to three months.
- Refrigeration: If not consumed within a few days, refrigerate the bread, but note that refrigeration can dry it out, so toasting before eating is recommended.
Frequently Asked Questions
No, sourdough bread is only gluten-free if made with gluten-free flour and a gluten-free starter.
Yes, simply combine equal parts gluten-free flour and water, and allow it to ferment for several days, feeding it daily.
Ensure your bread is properly baked, and fully cooled, and that you’re using a flour blend that includes xanthan gum or another binding agent.
Absolutely, though results will vary. Experimentation is key to finding the blend that suits your preferences.
Conclusion: Enjoy the Rewards of Homemade Gluten Free Sourdough Bread
Baking gluten free sourdough bread at home allows you to enjoy the unique tangy flavor and satisfying texture of sourdough without gluten. By following this comprehensive guide, you’ll be well on your way to mastering the art of gluten-free sourdough baking. Whether for toasting, sandwiches, or pairing with your favorite soups, your homemade bread will be a delightful addition to your meals. Happy baking!
Related
Looking for other recipes like this? Try these: